Before you start
You’ll need the download containing your Canva template link, a Canva account, your event details and any photos you want to use. These instructions cover the editable website templates and features shown in the videos; the layout and included features can vary by design.
1. Personalize your invitation in Canva
The videos below focus on the countdown and RSVP form. Start by personalizing your template using this written checklist.
- Open the PDF supplied with your purchase and follow its Canva template link. Choose the option to edit or use the template, then sign in or create your account.
- Click the editable text and replace it with your child’s name, new age, party date, time and venue. Include an end time, venue instructions and whether a parent should stay. Adapt the wording for any birthday age.
- Open Uploads and upload your photo. Drag it into the existing image frame. Double-click the image to adjust the crop and keep faces visible.
- Check each page for sample names, dates and addresses. Keep the existing navigation and decorative elements in place unless you intend to change their function.
2. Update the countdown and event links
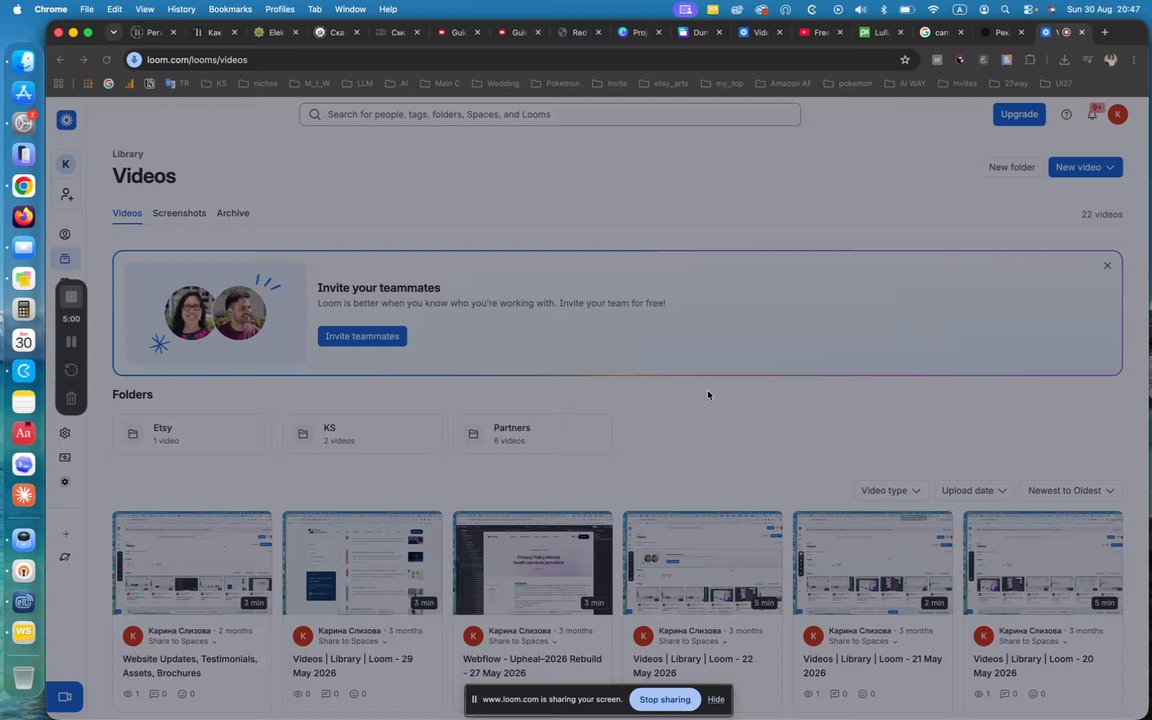
- Select the countdown in your template and choose Edit to open its controls.
- Set the date for your shower or birthday party. Click Update countdown, then wait for the element to refresh.
- Position the updated countdown in its original space and center it horizontally and vertically.
- Review the venue address and any registry or other event links before publishing.
3. Set up online RSVP and Canva Sheets
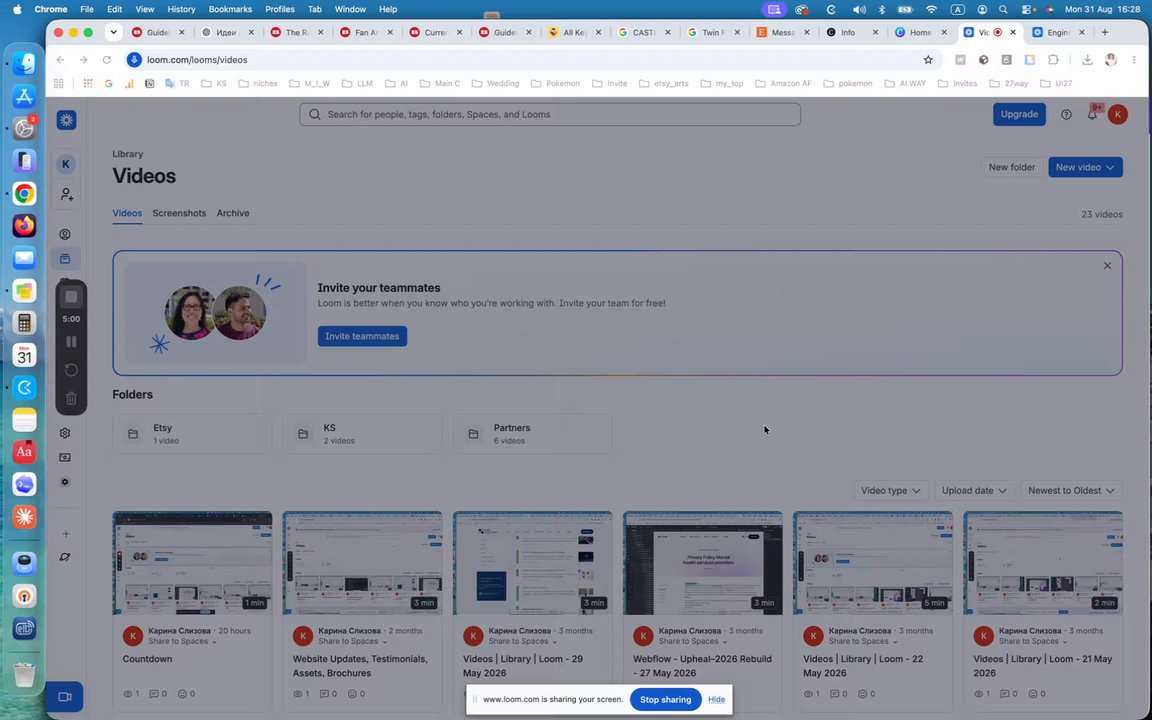
- Select the native Canva RSVP form and open Edit. Review its existing questions and answer choices.
- Choose the information you need, such as parent or guardian’s name, attendance and number of guests; make it clear whether your headcount includes adults and children. Add a question only when you need the answer.
- Use the form settings to personalize the title and button text. If adding questions makes the form taller, adjust the surrounding spacing.
- Open Responses and enable collection if Canva prompts you to do so. Publish the website, open its live link and submit a test response.
- Return to the form’s Responses tab. Use the option to view or link responses in a Canva Sheet. You can then open the invitation design and the response sheet separately in your Canva account.
Prefer Google Forms? The RSVP video also demonstrates removing the Canva form and replacing it with a linked button. Add your Google Form link to the button and its text, adjust the spacing and republish. Replies then belong in Google Forms rather than Canva Sheets.
4. Publish, check and share your invitation website
- Use Canva’s website publishing controls and choose the available Canva website address. Review the address and settings before publishing.
- Where available, set the social media preview so your invitation has a preview image when shared in a messaging app.
- Open the published link on your phone. Check the text, photo crops, countdown, buttons and RSVP form. Test the whole journey as a guest.
- Copy the published website link and share it by text, email or your preferred messenger. Send the guest-facing website link rather than your Canva editing link.
- After later changes, publish again so guests can see the update. If an old version remains visible, try opening the published link in a private or incognito window.
A few helpful answers
Do I need Canva Pro?
The demonstrated setup works with a free Canva account. Your own uploads and free elements keep the editing process within that setup; premium additions may have different requirements.
Where do my RSVP answers go?
For the native Canva form shown here, open Responses in the form editor and link or view the answers in Canva Sheets. If you replace it with Google Forms, review the replies there instead.
Why are my edits missing from the live invitation?
Publish the website again after editing. Then open the published link in a private window to check whether an older version was cached.
Can I use these steps for another design?
Use the steps for matching features in your template. Layouts, countdowns and RSVP tools may vary, so follow the guide included with your purchase for design-specific details.
Find your kids birthday invitation.
Explore the collection ↗Need help with your template? Contact Karina on Etsy ↗